

Crisps
WHAT YOU WILL NEED
From ingredients
6 products


SIMPLE PROCESS
Step by step recipe
The most important detail is rolling the dough into a very thin, even layer. Thin dough dries more easily and gives the crisps their signature delicate crunch. Finely grated cheese helps distribute the flavor evenly, while well-dried, finely chopped herbs add aroma without making the dough unnecessarily wet. Do not judge the texture immediately after baking. The sheet may still feel slightly soft while hot, but it will dry and crisp up as it cools. If the center is still soft after cooling, return it to the oven for a few extra minutes to finish drying.
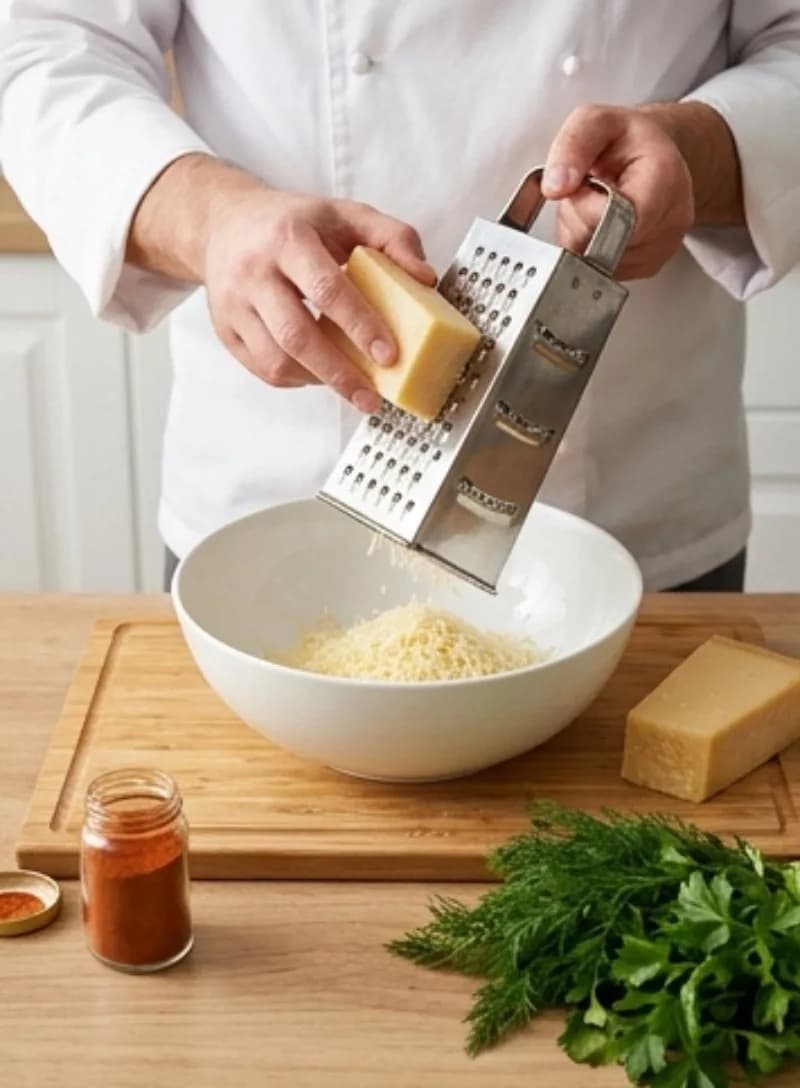
Preheat the oven
Preheat your oven to 120 °C. The low temperature is important for gradually drying the thin cheese dough, so avoid using a much hotter oven.
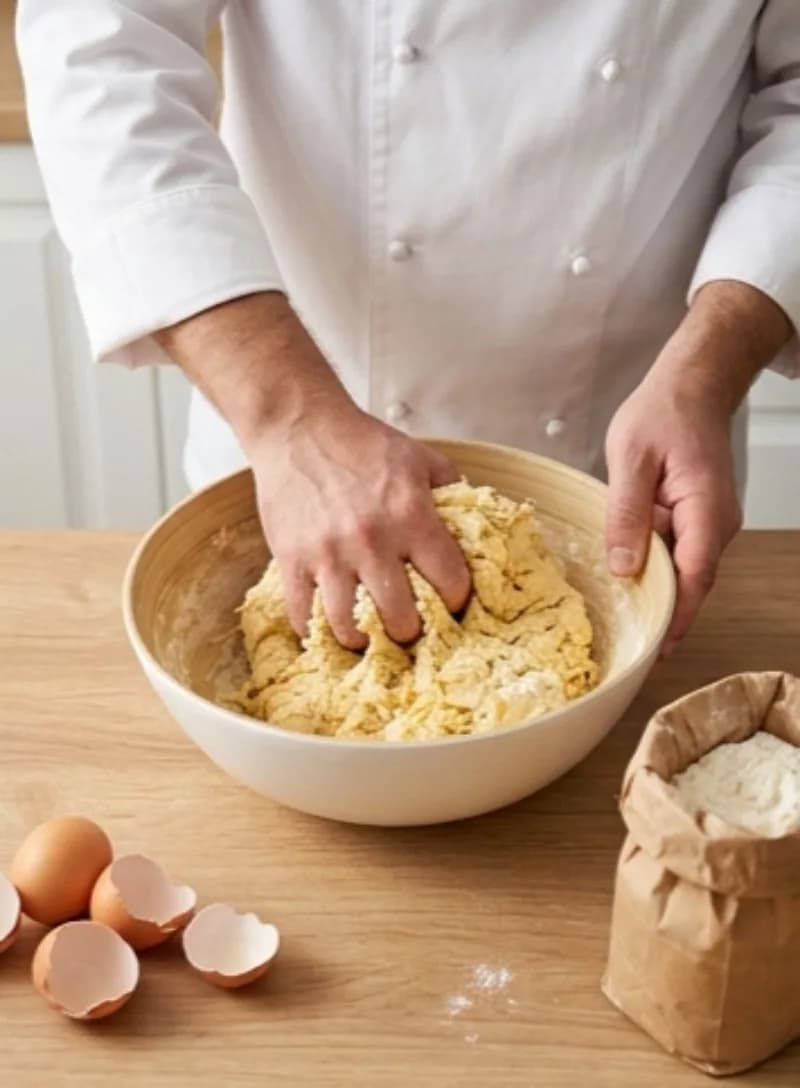
Make the cheese dough
Finely grate the Adyghe cheese and hard cheese. Add the egg, flour, spices, and finely chopped fresh herbs. Mix thoroughly until the ingredients form an even dough with the cheese and herbs distributed throughout.
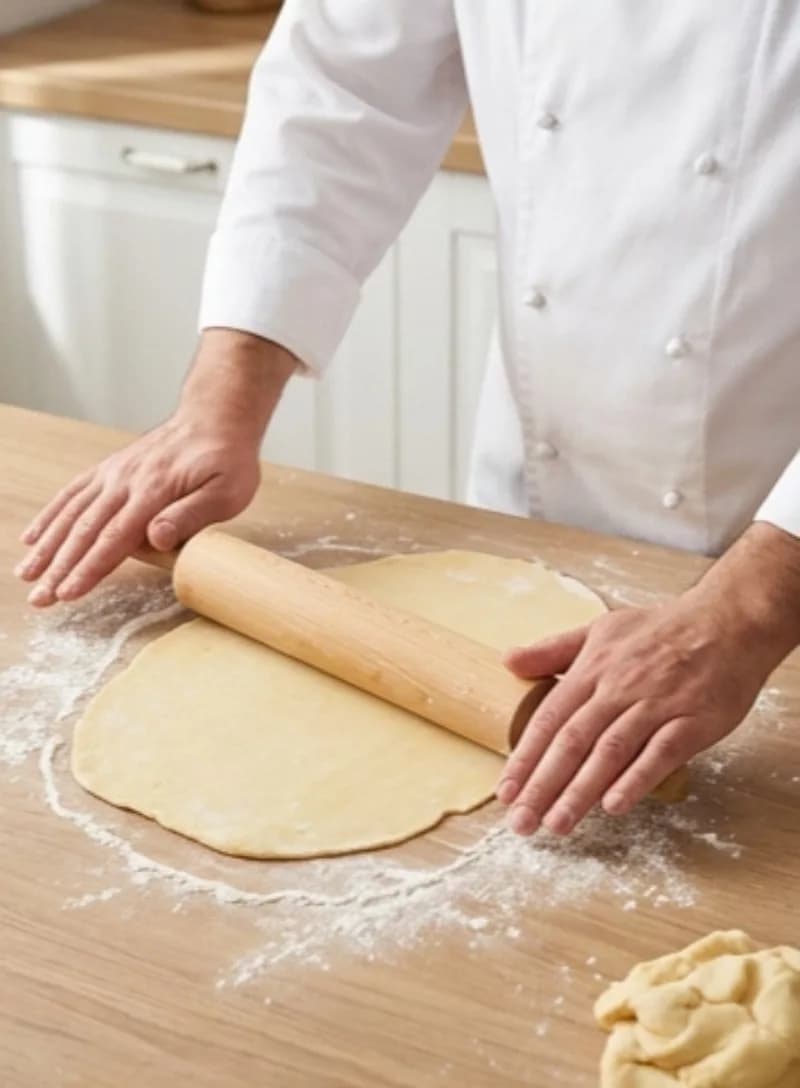
Roll out the dough
Work the dough until smooth, then roll it into a very thin sheet. Keep the thickness as even as possible across the entire surface because this is essential for even drying and crispness.
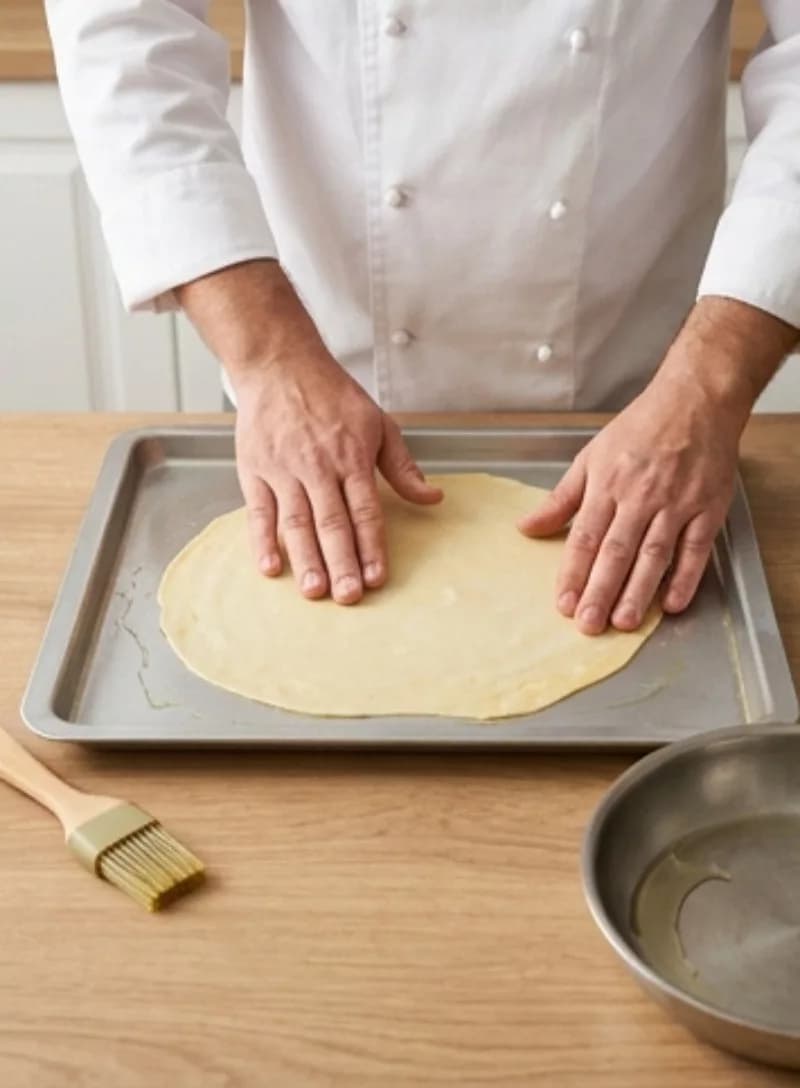
Prepare the baking sheet
Lightly grease a baking sheet with vegetable oil. Carefully transfer the thin sheet of dough onto it and smooth it out if needed so the surface remains evenly thin.
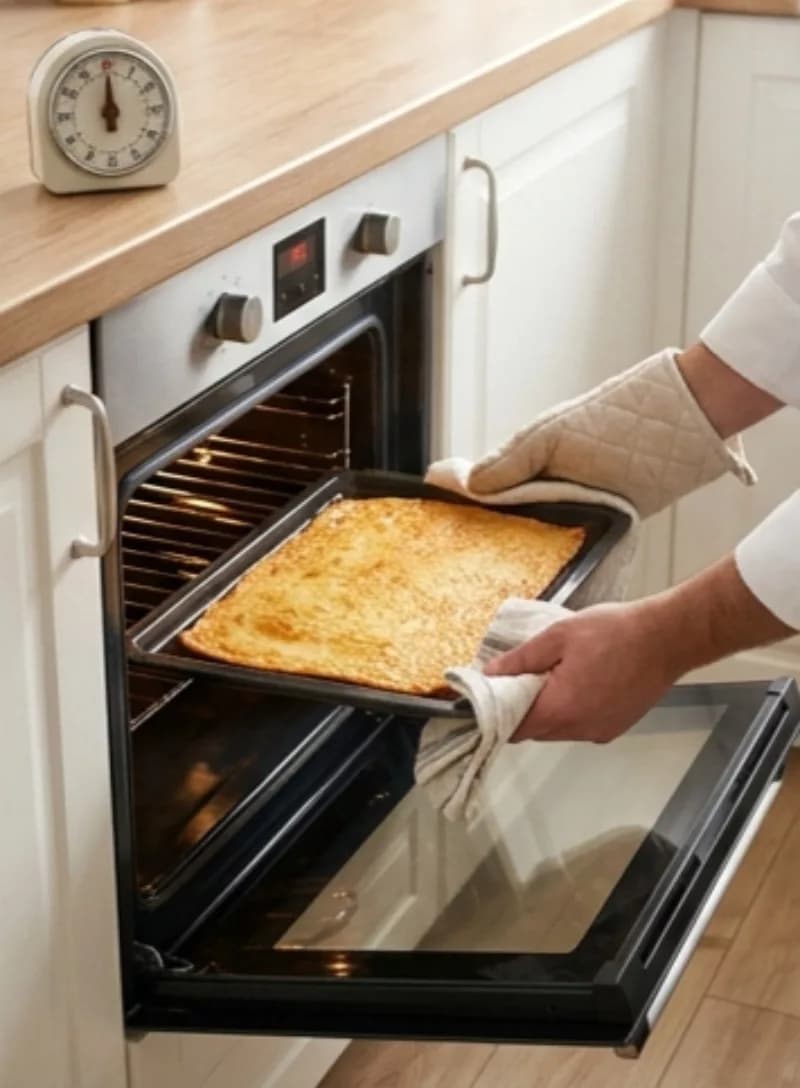
Dry the dough in the oven
Place the baking sheet in the preheated 120 °C oven and bake for about 45 minutes. The dough should gradually dry and develop a light golden color. Watch the edges, as they may finish slightly earlier than the center.
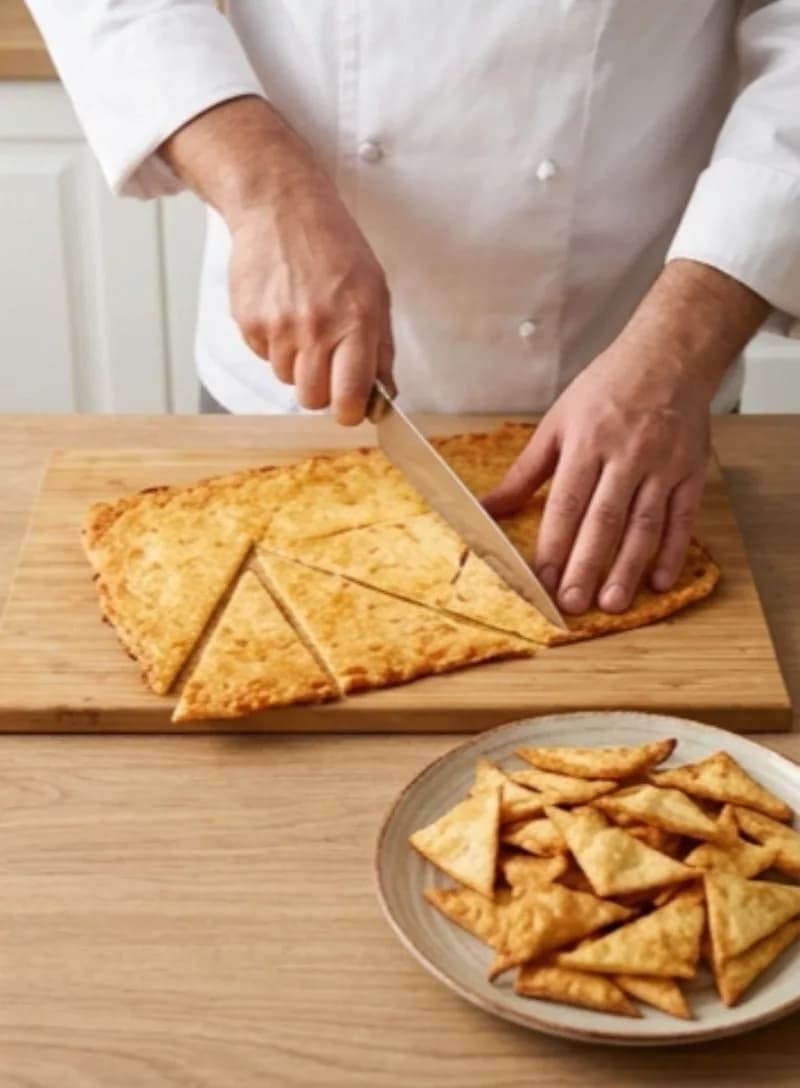
Cut and cool
Remove the baked sheet from the oven and cut it into small pieces while it is still warm. Let the crisps cool completely; this is when they finish drying and develop their characteristic crunchy texture.
CHEF'S TIP
Roll the dough very thin
The thickness of the dough determines the final texture. Spread it into an extremely thin, even layer and avoid thicker spots, which can stay soft while the edges become overly dry.
Bake low and slow
Keep the oven around 120 °C. Gentle heat allows the cheese-based dough to dry gradually without making the edges too dark or giving the crisps a bitter, overbaked flavor.
Let them cool completely
Fresh from the oven, the crisps may not seem crunchy yet. Give them time to cool completely so excess moisture can escape and the texture can become dry and crisp.
Keep the thickness even
Pay particular attention to the center and edges when rolling. Uneven dough means some areas may dry too quickly while thicker sections remain soft.
SUBSTITUTIONS
Add your taste
- Swap the Adyghe cheese You can replace Adyghe cheese with another mild, relatively dry fresh cheese. The flavor and texture will change slightly, so pay attention to the consistency of the dough.
- Use a stronger cheese Choose a more flavorful hard cheese if you want a deeper savory taste. Pick one that grates easily and melts well so it blends evenly into the dough.
- Change the herbs Replace the fresh herb assortment with other fresh herbs you enjoy, or use a small amount of dried herbs. Adjust the seasoning gradually so it complements rather than overwhelms the cheese.
- Skip the fresh herbs Fresh herbs can be omitted if needed. The crisps will still have plenty of savory flavor from the two cheeses and spices.
HOW TO STORE
How to Store Homemade Cheese Crisps
Let the crisps cool completely before storing them, as residual warmth can create moisture and soften the texture. Place them in a dry, airtight container and keep them at room temperature in a dry spot for up to 2–3 days. Avoid refrigerating them because refrigerator humidity can quickly make them soft. Freezing is not recommended because thawing can reduce their crispness. If the crisps lose their crunch, dry them in a low oven for a few minutes and let them cool completely again.
GOOD TO KNOW